Those dramatic before and after photos of clear, even skin get attention for a reason. Age spots and sun damage can make your face look older than you feel. While no homemade cream works like professional lasers overnight, this DIY rice and lemon brightening cream uses traditional ingredients that help exfoliate, fade discoloration, and boost glow with consistent use. It’s cheap, simple, and made from things already in your kitchen.
What Causes Age Spots on the Face
Age spots, also called solar lentigines, are flat brown patches caused by years of UV exposure. Sun triggers melanin production, and over time that pigment clumps into visible spots. They’re most common on the face, hands, shoulders, and chest because those areas get the most sun.
They’re harmless, but they add years to your appearance. The before and after image shows what a big difference even skin tone makes. You won’t get that level of change in a week, but you can absolutely improve brightness and fade mild spots with the right routine.
Why Rice and Lemon Work for Brightening
This DIY cream combines two ingredients used in Asian and Mediterranean beauty rituals for centuries.
Rice Powder or Rice Water: Rice contains phytic acid, a gentle exfoliant that helps remove dead skin cells. It also has antioxidants and amino acids that support the skin barrier. In Japanese and Korean skincare, rice bran is used to brighten and soften skin. It won’t bleach spots, but it helps fade them by speeding cell turnover.
Lemon: Fresh lemon juice is high in vitamin C and citric acid. Vitamin C inhibits tyrosinase, the enzyme that produces melanin. That means it helps prevent new dark spots and gradually lightens existing ones. Citric acid is an alpha hydroxy acid that exfoliates. But lemon is strong, so it must be diluted and you cannot go in the sun after using it.
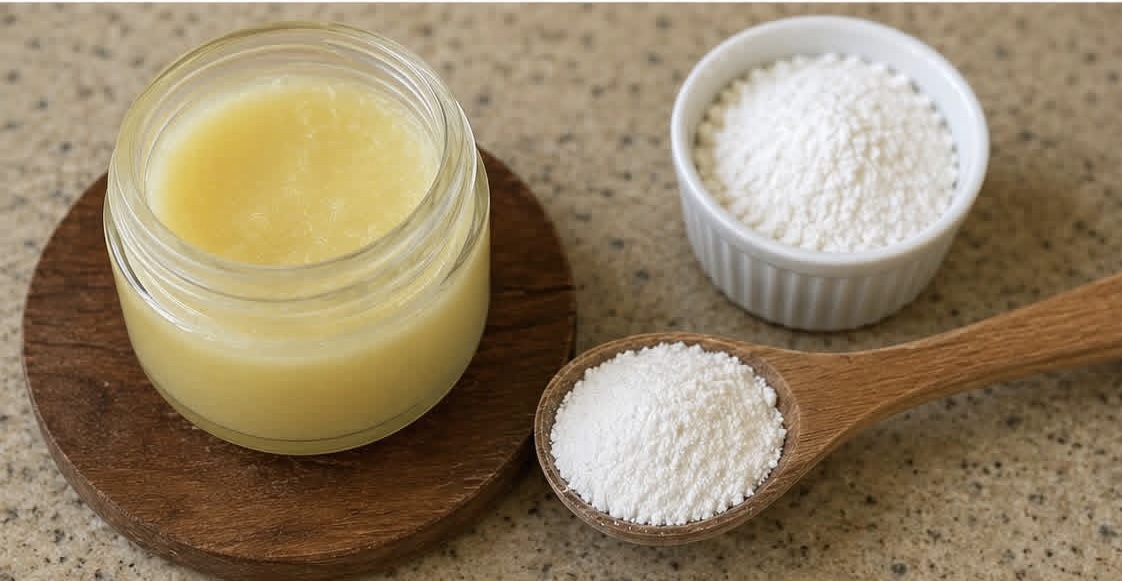
Base Ingredient: Petroleum Jelly or Shea Butter: The jar in the image looks like a balm. That means the rice and lemon are mixed into an occlusive base. This locks in moisture and prevents the lemon from over-drying your skin. It also makes the cream safe to leave on longer.
DIY Rice and Lemon Brightening Cream Recipe
Ingredients:
– 2 tbsp rice flour, or grind white rice to a fine powder
– 1 tbsp fresh lemon juice, strained
– 3 tbsp petroleum jelly, or 3 tbsp shea butter for a natural option
– 1 tsp honey, optional for extra hydration
– 3 drops vitamin E oil, optional preservative
Equipment:
– Small glass jar with lid
– Small bowl
– Spoon or mini whisk
Instructions:
1. Make the Rice Paste
If you don’t have rice flour, grind 2 tbsp uncooked white rice in a clean coffee grinder until it’s a fine powder. Sift to remove chunks. In a bowl, mix the rice flour with lemon juice until it forms a smooth paste. Let it sit 5 minutes. The acid starts to break down the rice, which makes it gentler on skin.
2. Melt the Base
If using shea butter, melt it in a double boiler or microwave for 10 seconds until soft but not hot. If using petroleum jelly, no heating needed. You want it soft enough to mix.
3. Combine Everything
Add the rice-lemon paste to the petroleum jelly or shea butter. Add honey and vitamin E oil if using. Stir vigorously for 2 minutes until fully combined and creamy. The texture should be like a soft balm, not grainy. If it’s too thick, add 1/2 tsp more lemon juice. If too thin, add more rice flour.
4. Store Properly
Spoon into a clean glass jar. Because this has fresh lemon juice, store it in the fridge and use within 7 days. No preservatives means it can grow bacteria. Make small batches.
How to Use It Safely
Patch Test First: Lemon and rice can irritate sensitive skin. Apply a tiny amount behind your ear or on your jawline. Wait 24 hours. If you see redness, burning, or itching, don’t use it on your face.
Apply at Night Only: Lemon makes skin photosensitive. That means sun exposure after using it can cause more dark spots, not less. Apply a thin layer to clean, dry skin before bed. Avoid the eye area.
Frequency: Start with 2 nights per week. If your skin tolerates it, increase to 3 to 4 nights. Do not use daily. Over-exfoliation causes inflammation, which leads to more pigmentation.
Rinse in the Morning: Wash your face with a gentle cleanser when you wake up. Follow with moisturizer and SPF 30 or higher. Sunscreen is non-negotiable. Without it, any brightening work is wasted.
What Results to Expect
Be realistic. The before and after photo is likely edited or shows results from clinical treatments. A DIY cream will not erase deep, decades-old age spots completely. What it can do with 6 to 8 weeks of consistent use:
– Brighten overall skin tone and give a glow
– Soften the edges of mild to moderate sun spots so they look less noticeable
– Smooth texture by removing dead skin buildup
– Improve hydration, which makes skin look plumper and younger
Take a makeup-free selfie in natural light before starting. Compare it after 30 days. Progress is gradual, and photos help you see it.
Safety Warnings You Should Not Ignore
Don’t Use on Broken or Irritated Skin: No acids on cuts, eczema, or active acne. It will sting and make it worse.
Skip if You Have Melasma: Melasma is hormone-related pigmentation. Lemon and exfoliation can trigger it and make it darker. See a dermatologist instead.
Avoid Sun Exposure: If you use this cream and go in the sun without SPF, you can get a chemical burn or worsen spots. This is the most important rule.
Know When to See a Derm: If a spot is changing shape, color, or border, bleeding, or itching, get it checked. Not every dark spot is an age spot. Skin cancer must be ruled out.
Other Ingredients That Fade Age Spots Naturally
Rotate these into your routine if lemon is too harsh:
Niacinamide: Vitamin B3 serum, proven to block pigment transfer. Use daily, morning or night.
Licorice Root Extract: Inhibits melanin. Look for serums with dipotassium glycyrrhizate.
Aloe Vera: Calms skin and has mild brightening effects. Use pure gel at night.
Papaya: Contains papain enzyme. Mash ripe papaya and use as a 10-minute mask 1 time per week.
Pro Tips for Younger-Looking Skin
Sunscreen Every Day: Even indoors. UVA comes through windows. Use SPF 30 minimum, broad spectrum. Reapply if outside.
Exfoliate Gently: Besides this cream, use a washcloth or konjac sponge 2 times per week. Don’t scrub hard.
Add a Retinoid: Over-the-counter retinol at night boosts cell turnover. Start with 0.25% 2 times per week. It works well with this cream on alternate nights, not the same night.
Hydrate and Protect: Dry skin looks older. Use a ceramide moisturizer after the cream. In the morning, use vitamin C serum under sunscreen for extra protection.
Frequently Asked Questions
Can I use lime or orange instead of lemon?
Lime has even more photosensitivity risk, so skip it. Orange juice is gentler but less effective. Lemon has the best balance of vitamin C and citric acid for brightening.
Will this bleach my skin?
No. It doesn’t bleach. It exfoliates and inhibits pigment. Your natural skin tone won’t get lighter, but dark spots may fade closer to your baseline.
Can I use it on my hands or chest?
Yes. Those areas respond well because skin is thicker. Same rules: night only, patch test, and SPF daily.
What if I’m allergic to rice?
Use oat flour instead. It’s soothing and also has mild exfoliating properties.
How is this different from clinical treatments?
Dermatologists use lasers, chemical peels, or prescription hydroquinone. Those penetrate deeper and work faster, usually in 1 to 3 sessions. DIY is slower, gentler, and best for mild spots and maintenance.
This DIY rice and lemon brightening cream is a safe place to start if you want to improve age spots at home. It costs under 2 dollars to make, takes 5 minutes, and uses ingredients with real science behind them. Just remember: consistency, sunscreen, and realistic expectations. Healthy skin is the goal, not perfection.